Sammy Intl. Airlines

We'll get you there unless we don't.

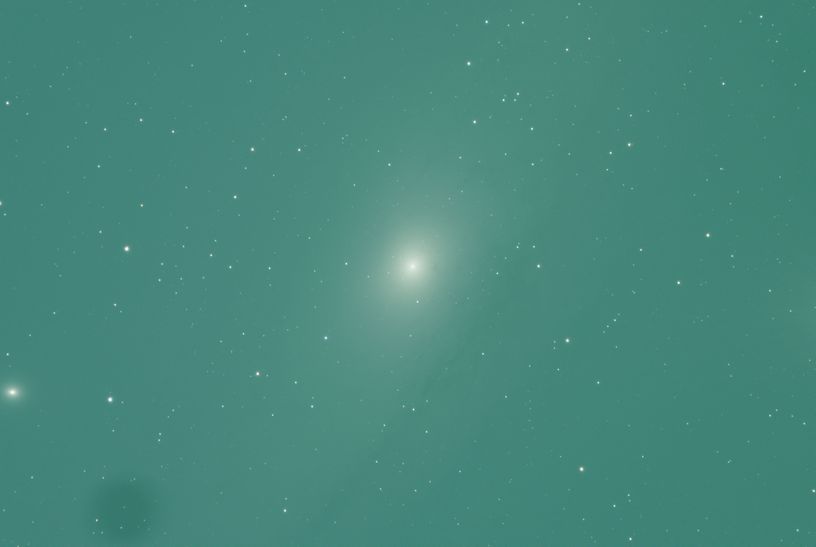
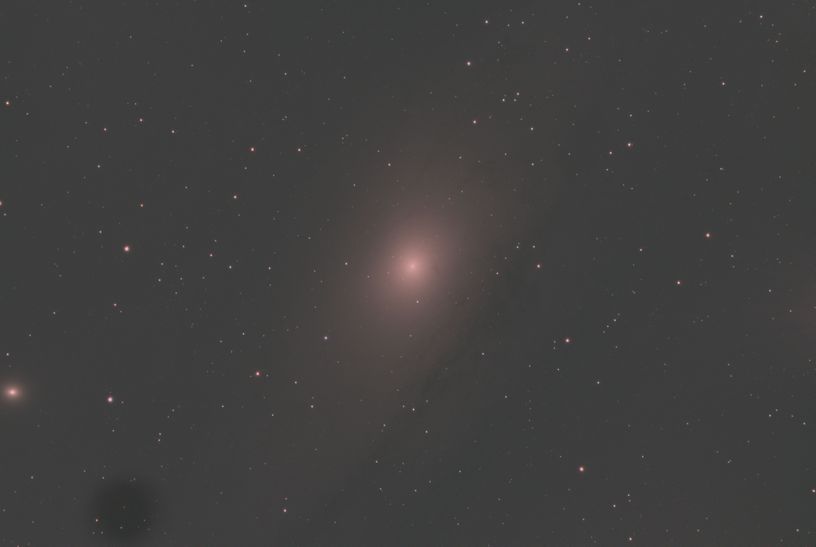
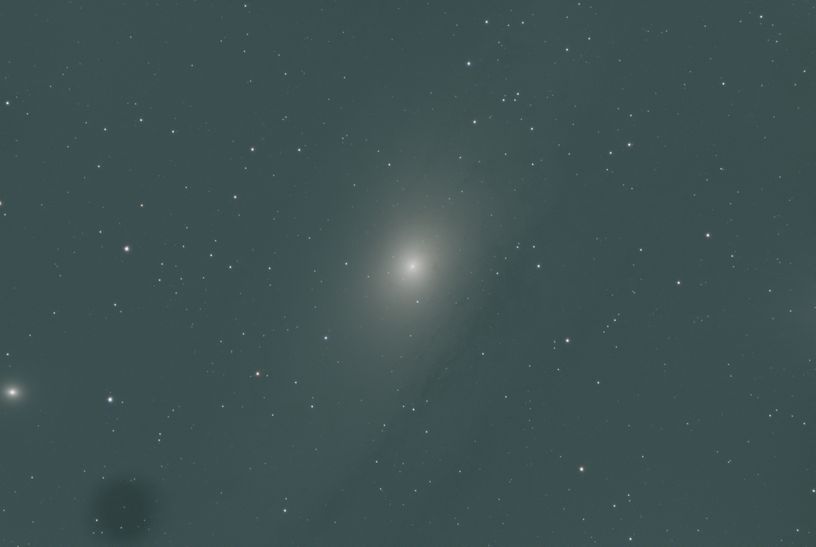
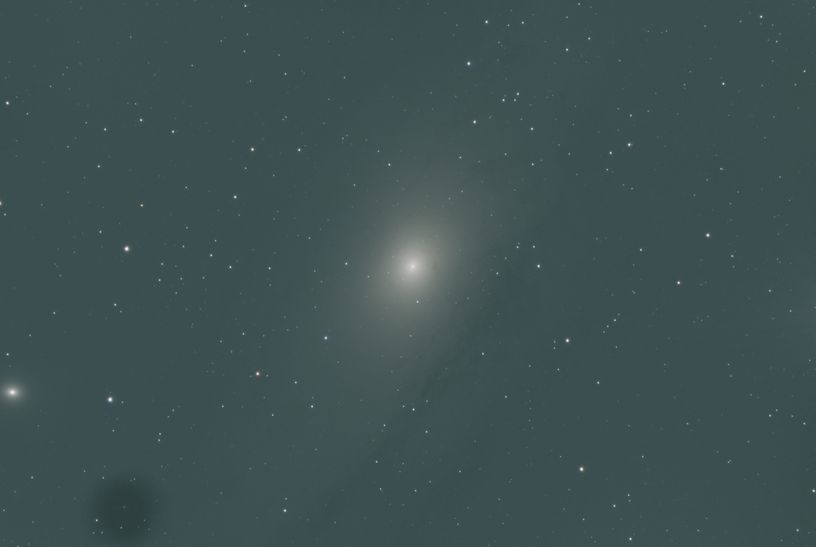
The basic steps start to finish.

Here are some photos that show the basic steps from the image stored in the camera until the final photo. The picture comes out of the camera in what is called a linear state. We remove the background, stretch the photo, remove background noise, draw out the dimmer features, and enhance the main features. This is a really abreviated explanation but gives the gist. It takes me (I am no pro.) about a half an hour to over an hour to get my results. The better pictures you see on the internet you can only imagine what they spend in time. There is a lot of detail that comes out between steps but was lost due to having to make a viewable picture early to show the details in the step..

1. This is what the picture looks like right out of the camera, unprocessed.

Because of the extra green filter in the camera the background is predominatly green as I understand it.

2. Here the background green has been removed.

The colors are not yet balanced. Printed it would still look like numbe 1.

3. The colors have been balanced.

The printed photo would still look like number 1.

4. The photo has been stretched.

The "stretch" process is done after color balance. This would be what would print as a picture.

5. The background noise has been removed.

Removing the noise smooths the background. A couple more steps before the finished product. This is how this picture would print.

6. And the finsihed product

This would be a finished product. More editing could be done with photo processing software like Photoshopcc or Affinity.