Polar Align an Equitorial Mount
Aligning a telescope mount is the process of aligning the Right Ascension axis so that its is parallel to the earths rotaitonal axis
Once the axis is aligned motors turn the mount at the same rate as the earth's rotation keeping the sky object centered in the field of view. Without this fine alignment the object will not stay in the field of view long enough to take a long exposure. The below steps we take are in the nothern hemisphere. In the southern hemisphere it is the same procedure but they must use a consellation of stars instead of a single star.
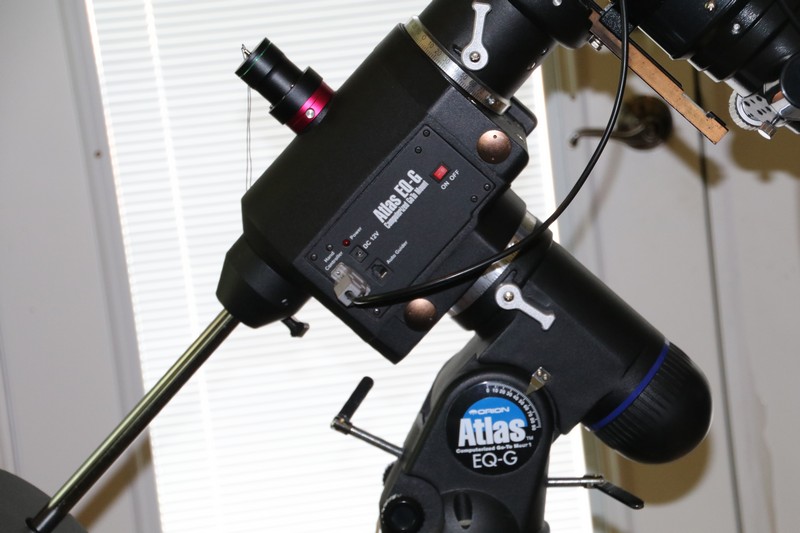
The first step in aligning the mount is to situate the mount with the motor housing end pointed north and level the mount using the adjustable legs. We are lining up with true north and not magnetic north. Magnetic north is approximately 16 degrees to the east of our location. After north alignment is roughly achieved we next align the altitude and azimuth adjustments on the mount to bring the RA axis in line with the north celestial pole. The old way was to use the polar finder scope mounted in line with the axis and make the adjustments using Polaris, the north star, and placing it in the correct position of an etched circle in the finder scope lens. Since Polaris isn't at due celestial north we consult a chart to see at what "time" of the circle to place it. This is actually mid range alignment. To get a more precise alignment we would then do what is called a drift alignment where you track a star to the south and one to the east to see what the drift in each access is and make corrections until it is precise. So far we have not taken any pictures but are getting close. This process takes us about a half an hour to an hour to accomplish.
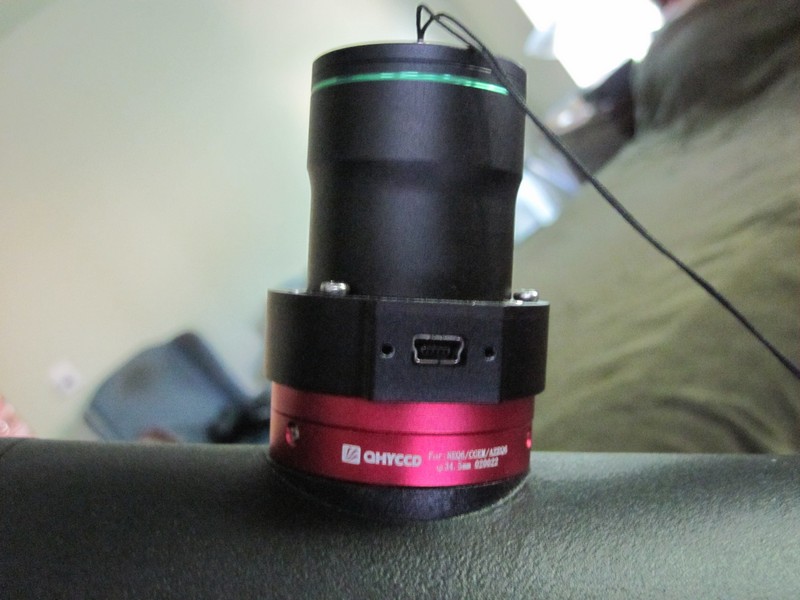
Yeah!!! We're ready to start imaging!!! Nope. Now we must calibrate the telescope to known objects in the sky. This is done to compensate for actual telescope mounting errors and to calibrate the goto software. If you can imagine 2 rulers almost but not quite parallel to each other, imagine how far spread apart their lines would be 20,000 lightyears away. This is what's called cone error. In the telescope control software we use an alignment procedure to compensate for this. The computer picks a star and we then slew to it. Normally the star is "close" and we can see it in the finder scope. We use the hand controller to center the star, click enter and go to the next one, repeat, and go to a 3rd star. We are now polar aligned and ready to start imaging. If we leave the mount set up and park it to the home position the next night we will only have to do a 1 star align for computer calibration and a quick check with Polemaster to make sure the dog didn't bump the mount while chasing the cat.